Chicken
Updated – Crispy Grilled Wings
Jun
I’ve been working on getting a method of grilling (or smoking) my wings and getting them to come out crispy without drying out the meat. While this is still a work in progress, I’m posting my initial results and will update this post as I refine the method.
UPDATED 6/12/2023 – This method is getting close! Last night I grilled wings and changed the process some. First I did not put them in the fridge. I defrosted the frozen wings, dried them and put them on a cooling rack on the counter to warm up. After about 10 minutes I coated them with the flour, corn starch and rub mixture. No salt, pepper and garlic first. Just went straight to the coating. I then let the coating get wet. This was another 30 minutes and I got the grill pre-heated in the meantime. I’ve also updated the amount of rub to a full cup in the coating.
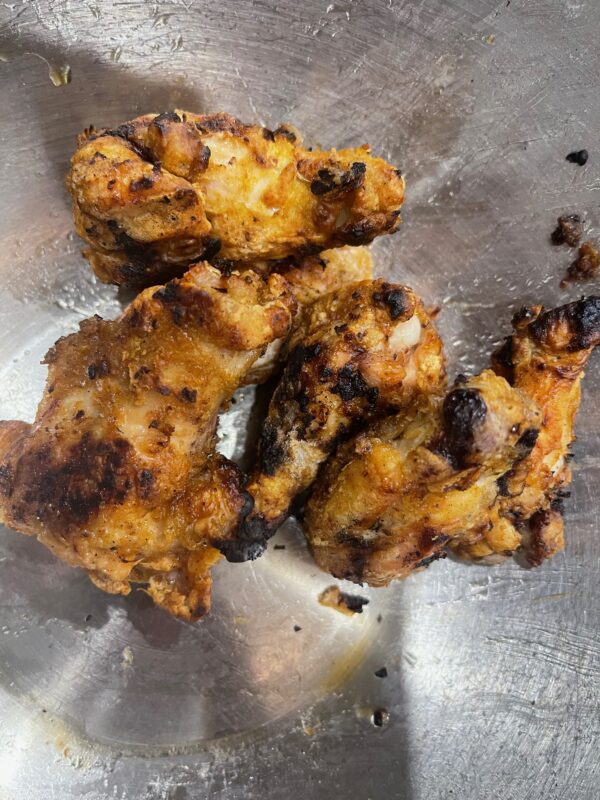
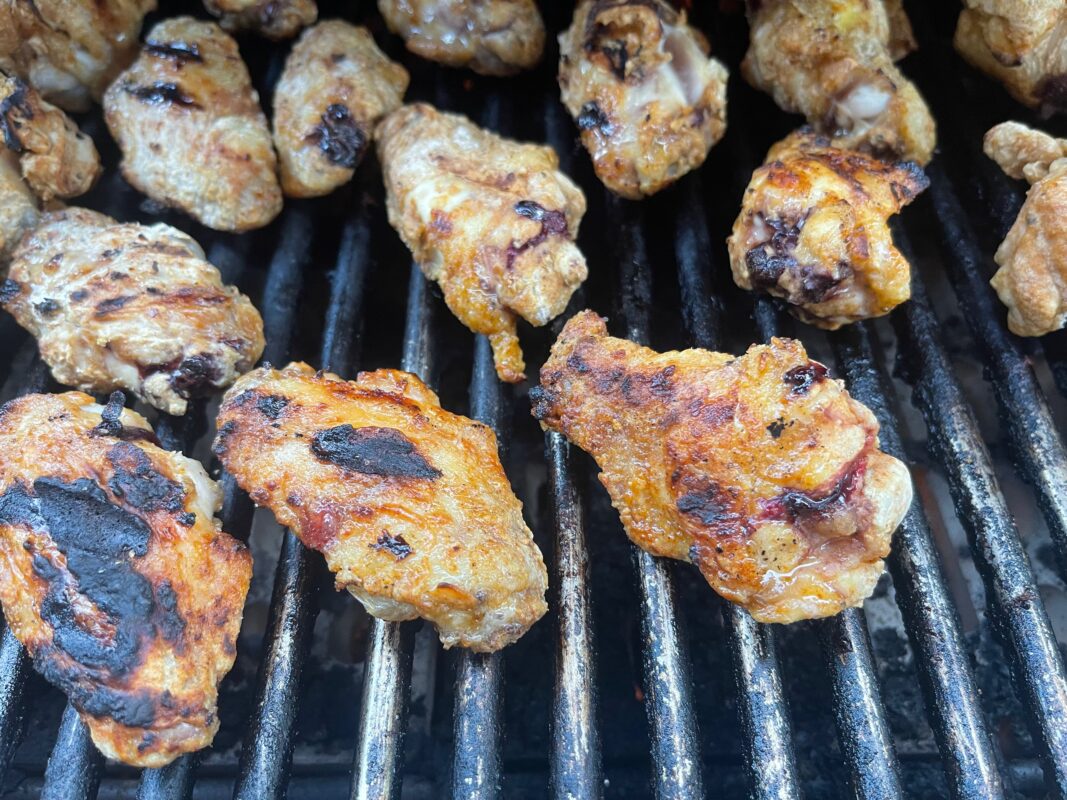
This new prep worked great. You’d have a hard time telling these from fried wings but they were much better. I’m really happy with the results.
Materials and Prep
Chicken Wings – I got the prepackaged and separated party wings from Costco. They always have nice large meaty wings. The tip is already removed and the drums and flappers are separated and ready to go.
Spices and Coating
- 1 cup of AP Flour
- 1 cup of Corn Starch
- 1 cup of Meat Church Hold Voodoo Rub (or whatever you like)
Prep
- Place your wings on a sheet pan with a cooling rack inside.
- Pat your wings dry
- Add Flour, Corn Starch and Rub to a gallon zip lock bag and shake to mix
- Place 6 to 7 wings in the zip lock and shake to coat
- Shake each wings to remove excess coating
- Coat all the wings and return to the sheet pan and rack
- Allow wings to sit with coating and allow it to “get wet” or soak up moisture from the wings. This can be done in the fridge if you want but be sure to allow them to warm up before cooking.
Cooking
Remove your wings from the fridge at least 30 minutes to an hour and let them come up to close to room temp.
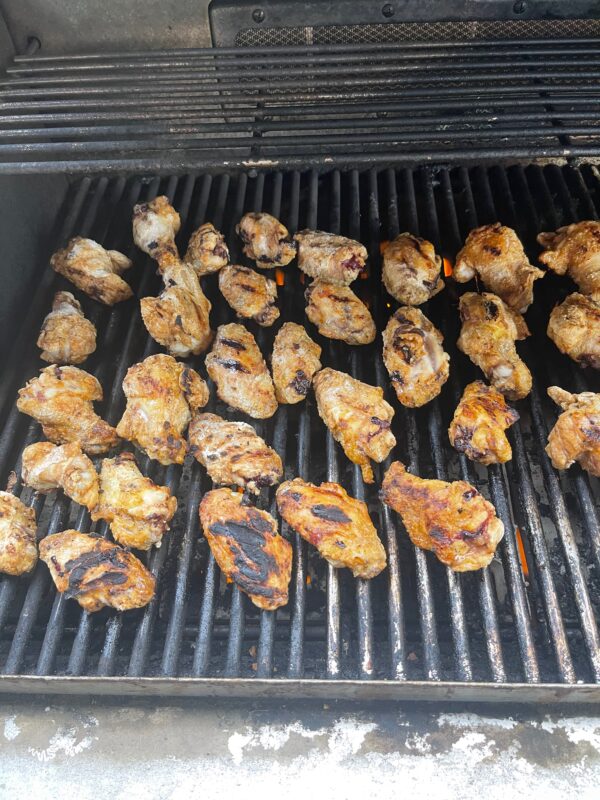
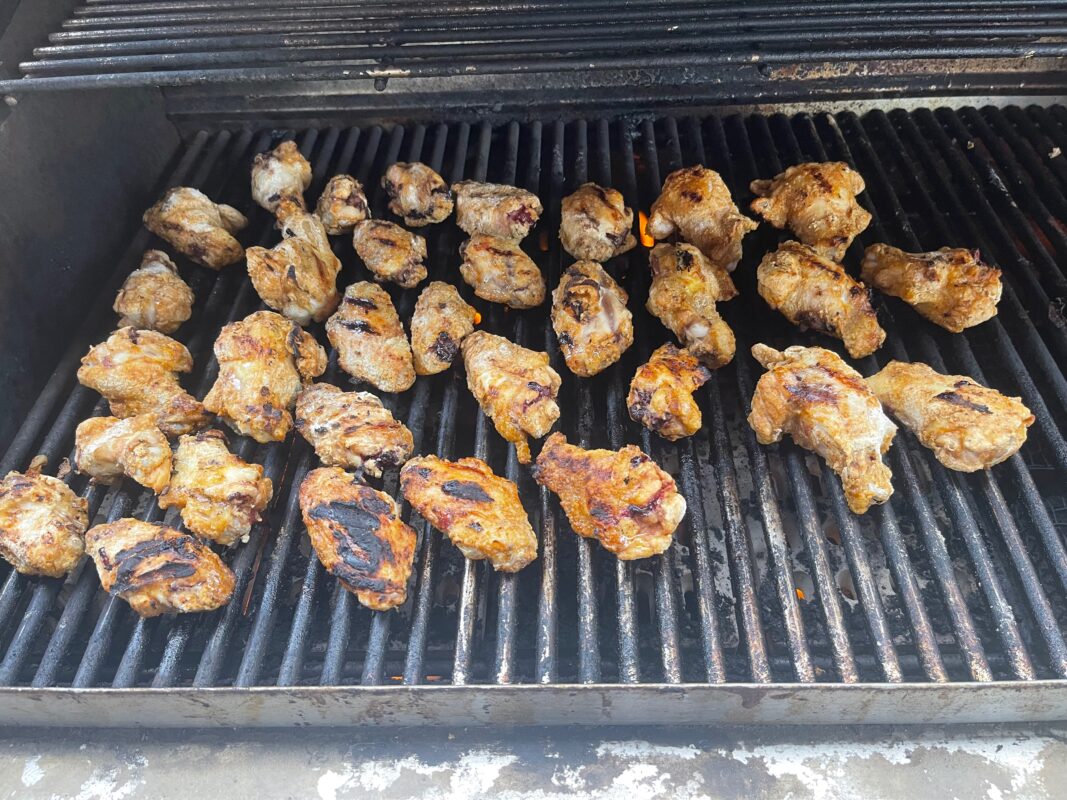
Heat your grill for at least 15 minutes to get it good and hot. My grills thermometer isn’t accurate but I’d guess the grill was between 350 and 400 degrees. My grill has a section that has an infrared burner. I used that section as an indirect heat section so i could “bake” the wings before putting them on the hot side.
Add wings to the hot side of the grill and watch for any hotspots. The flour and cornstarch coating will burn pretty quickly so watch for any hotspots. I cooked each batch at least 15 minutes. I used my Thermapen thermometer to check the meat temp and get each wing to at least 180. If I see the skin and coating are cooked well but the meat isn’t quite done I move them over to the indirect side of the grill.
UPDATE – by allowing the wings to sit longer with the coating and “get wet” these turned out MUCH BETTER!
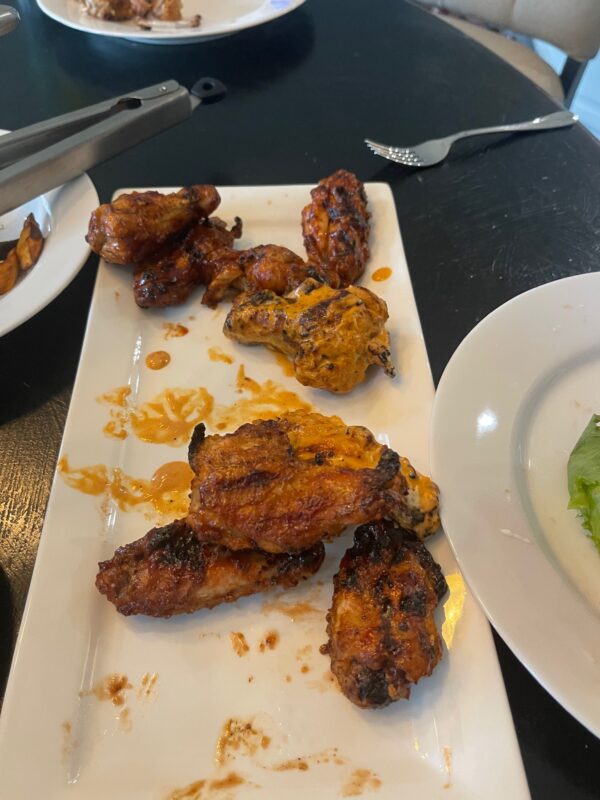
Results
I didn’t get good pics this first time as it was New Years Eve and I was juggling too many other things. I’ll get more next time.
The results were very positive. Everyone like the crispness of the skin and the flavor. Next time I’ll do a better job of getting the wings up to room temp. I think that would have made them even better.
Also, we did toss them in a couple of different sauces. We tried What-A-Burger buffalo sauce and it was a hit. We also used our favorite store bought sweet BBQ sauce. It was good as well. My favorite was a combination of the two. A sweet hot BBQ sauce.
UPDATE – We tried a couple of new sauces to toss them in.
- Buffalo Ranch – equal parts buffalo sauce and ranch dressing. Was excellent.
- Spice BBQ Sauce – 1/3 part buffalo sauce to 2/3 part sweet bbq sauce. Mild heat and sweet.
Next Time
- Take wings out of fridge at least an hour before cooking to get them up to room temp – UPDATE – validated that this worked!
- Want to experiment with flour & cornstarch ratio and if one if better than the other. Still not sure if only cornstarch or flour would be better.
- Make homemade bbq sauce and Asian sauce
The BBQ Geek may earn compensation for sales from links on this post through Affiliate Programs.